Soap Opera post production session 1
I imported all the clips from the cameras S.D card and onto my hard drive, which contained a folder for the footage and audio.
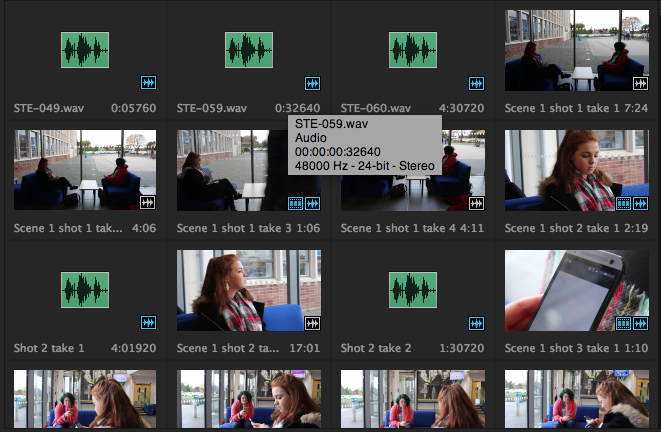
Next I dragged all of my audio and footage files into 'Adobe Premiere CC' and named each take and audio, naming the scene number first, the shot number second and the take number third.
Below is a screen shot:
Next I dragged all of my audio and footage files into 'Adobe Premiere CC' and named each take and audio, naming the scene number first, the shot number second and the take number third.
Below is a screen shot:
Next I determined the most appropriate takes for each shot:
For example in the shot with 'Lauren' saying "None of your buisness", there was one take of her saying it in a rather light and innocent tone, wheares another take had her say it in a slightly more aggressive tone. I chose the second take, as naturally wanting her freind 'Stacey' not to know about 'David', she would sound a lot more defensive about it.
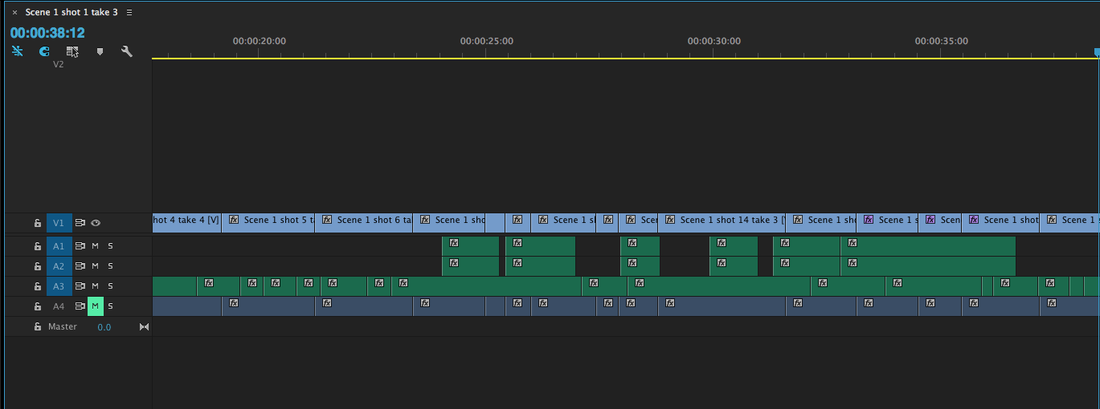
After deciding the appropriate takes, I dragged the footage into the timeline
Below is a screen shot:
For example in the shot with 'Lauren' saying "None of your buisness", there was one take of her saying it in a rather light and innocent tone, wheares another take had her say it in a slightly more aggressive tone. I chose the second take, as naturally wanting her freind 'Stacey' not to know about 'David', she would sound a lot more defensive about it.
After deciding the appropriate takes, I dragged the footage into the timeline
Below is a screen shot:
Afterwards I then needed to determine the most appropriate in and out points for each shot
For example in the shot with 'Aleysha' walking toward 'Tom' in the common room, I selected the in point at least two seconds before 'Aleysha' walked on screen. This would allow for audiences to be subjected to 'Toms' movement and gestures.
I then selected the out point at when 'Aleysha' was at least 3 steps away from 'Tom'.
For the overshoulder shot of 'Aleysha' walking to 'Tom' (shoulder only), I wanted the shot to smoothly cut from the previous shot. Therefore, I selected the in point at where 'Aleysha' was approximately a reasonable distance away from where it seemed she was in the out point of the previous shot.
At first I placed each shot at a very short duration and alligned the dialogue at exactly when the characters began speaking.
The result was very quick cuts to each shot to begin with.
For the cafeteria scene with Sophie and Charlie, there were different days occuring in the shots, due to re shooting schedules for particular shots.
In some bright lights illuminated in the cafeteria, wheares others were not and more grey.
I decided to stick with the grey colour, which took up most of the shots. I used a colour effect known as 'Tint' to make the scenes with illuminated lights, a reasonable tone of grey too.
I made sure not to make the colours too grey, as it would give a surreal quality, breaking the realistic tone of the Soap opera.
In the end I found a good medium.


The 'Amount to Tint' section enabled me to defuse the bright light reflections in the original shot (above) and to give a more similar grey tone like in the shots filmed during the last session.
As you can see the shots filmed on the other session look more similar to the other shots in the previous session, which were more grey, unlike the others which were bright.
|
However the original clips themselves needed to be slightly altered to so that all the shots could sequentially be of a reasonably consistent colour tone.
|
Tutors feedback:
My Tutor commented that the clips were too quick and needed to be slower to allow audiences to take in the dialogue being spoken and their significance.
My Tutor commented that the clips were too quick and needed to be slower to allow audiences to take in the dialogue being spoken and their significance.

For example, for the shot of 'Lauren' looking at the message sent from 'David', I placed the in point at where 'Lauren' was just starting to shift her body slightly. This instantly conveys her character being rather keen to see what the message is.

Originally I placed the out point at where 'Stacey' started peering her eyes up toward 'Lauren'. However my Tutor stated the shot needed to last longer, so as to dramatise the fact that 'Stacey' is now becoming aware and rather suspicious of 'Lauren'. Additionally it subjects audiences more to the idea that 'Stacey' will most likely now try to find out about what 'Lauren' is doing, as they are focused on her constant staring and raised eye brows, as well as 'Lauren' looking at her phone.

I was also recomended to intertwine the first bits of dialogue into the last few seconds of the previous shot.
This would make the conversations more smoother.
For example, in the common room scene with 'Aleysha' and Tom, I wanted to give the impression a rather tense argument. Therefore, when 'Tom' says "This relationship is unhealthy!", I applied the dialogue "Just leave me alone Tom" (from 'Aleysha') a second or two after, to convey her character was becoming frustrated and to imply the tense confronting vibe in the argument.

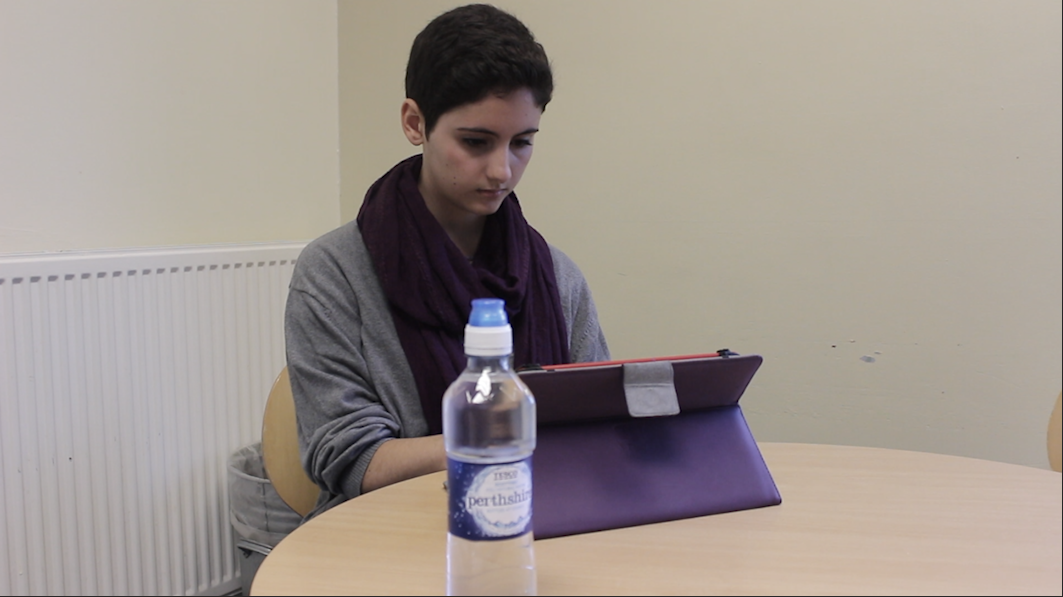
MVI 9909 represents the shot of 'Aleysha' above, saying her line "Thats private, have you been stalking me too?"

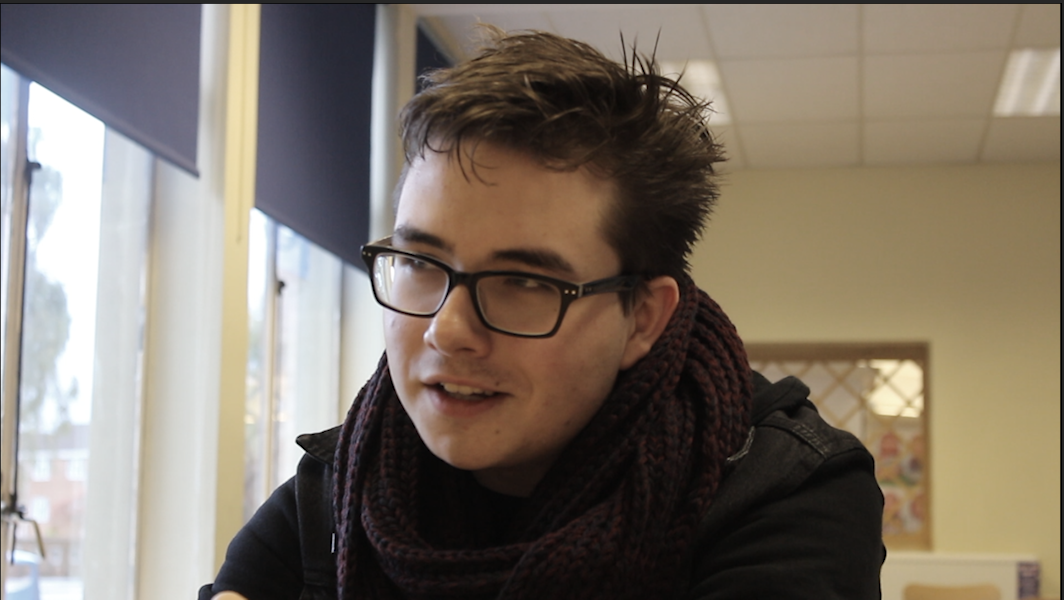
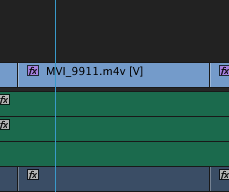
MVI 9911 meanwhile represents the shot the shot of 'Tom' saying " This relationship is unhealthy!", which occurs after 'Aleysha's' shot above.
In order to give a quick and tense paced argument to the scene, I applied the track of dialogue "This relationship is unhealthy" during the last two seconds of the end of MVI 9909 (Aleyshas shot). This gives the impression of Tom very quickly responding to 'Aleyshas' dialogue, conveying his desperation in wanting to convince 'Aleysha' her relationship with 'Collin' is wrong.
Afterwards, I controlled the in point of 'Toms' shot, to where the rest of his dialogue continued after the shot with 'Aleysha'. This maintained the lip synching.

Creating the credits
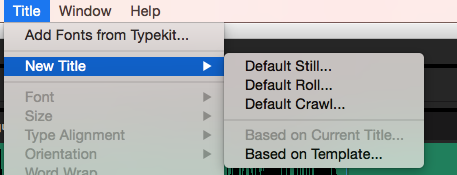
To create a credit format, I chose 'Default' Roll, as the titles would literally roll down the screen, which is the common format of credits.

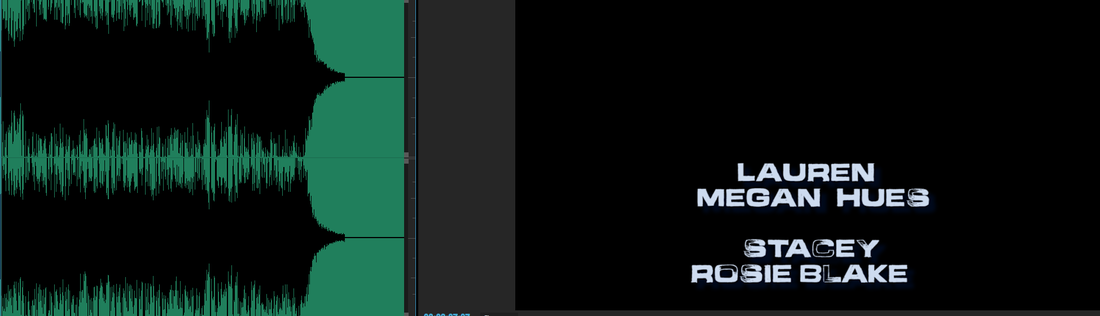
The font used in the title sequence font was 'Abandon'. Therefore the same font had to be applied to the credits, as was the same convention in the previous 'College Road' series.

At first the credits came down too quickly, preventing us from being able to read the names of contributors and actors/actresses.
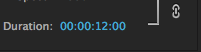
I applied a slower duration to the credits scrolling down.
At first they were too slow but I managed to find a good medium with 12 seconds as during the last beat section of the music, the last credits just disappeared. Below is the image.


According to one of the tutors, in the previous series of 'College Road', the credits occurred during the quick based drum beat sections.
Therefore I made sure to carefully align this section to the start of the credit sequence.

I placed the in point at approximately one milli second before the first pitch of the guitar sound occurred. This was to insure it did not sound too sudden when it occurred and to give a smooth pace to its arrival.
|
Therefore, for the high pitched guitar section, I placed it at the last few seconds of 'Sams' reaction to finding out 'Bradely' is homosexual.
This is a common conventions in Soap Operas, as in 'East Enders', the 'Boom boom' sounds occur during the last few seconds of a characters reaction shot.
|
Post production of the title sequence
After importing all my clips onto 'Adobe premiere, I applied a colour effect called 'Brightness and Contrast'

For the opening shot of the student griping his ruck sac, I wanted to convey the trigger of a busy and slightly chaotic vibe as he was getting ready.

I started of with no colour effect applied. I placed a key frame here, for another key frame containing a different colour tone to be able to transition. This brief second of no colour can make the colours arrival appear more significant and catch audiences of guard.
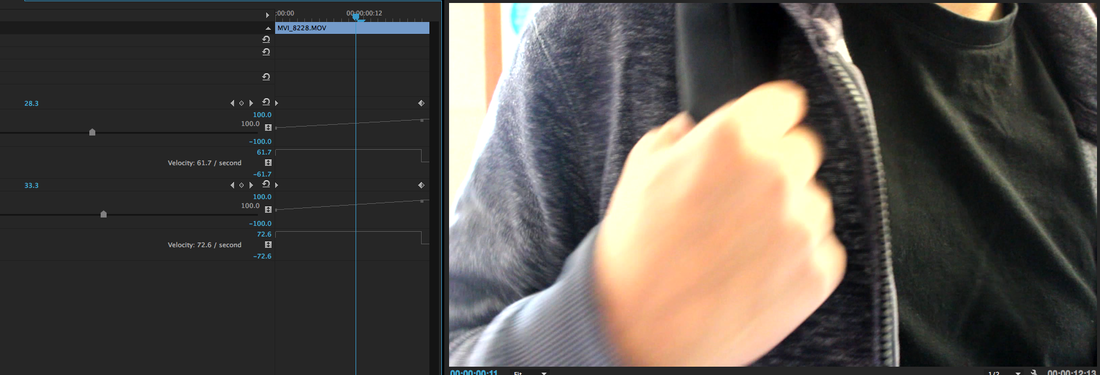
I placed a second key frame at where the student griped the ruck sac tightly. For this key frame I increased the brightness and contrast. This implies the chaos and energy now starting as the student is getting ready for College.
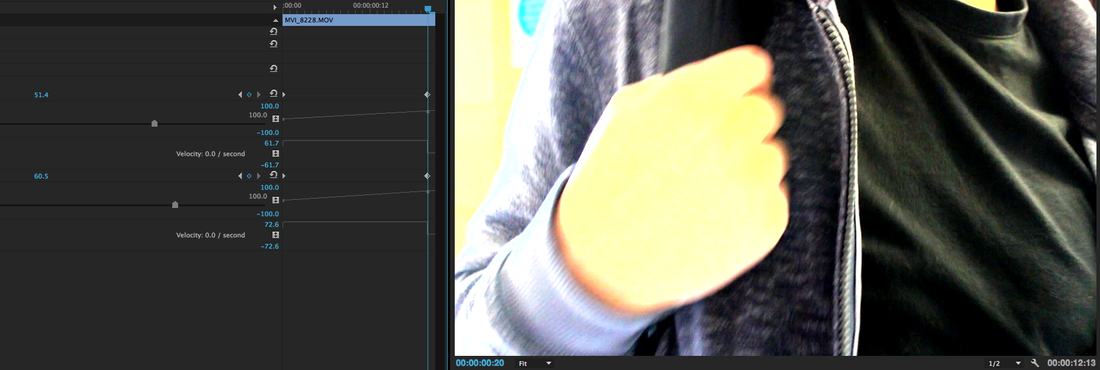
For the third key frame, I placed an even greater brightness and contrast setting.


Creating the title font
I went onto 'Da font.com'
Website link: http://www.dafont.com
Website link: http://www.dafont.com

Effectiveness of font: Has a rather considerable 'cool' style and a free and chaotic vibe to it, corresponding well to how youths like to be 'Cool' in front of others and the rather chaotic classes sometimes occurring in College environments, due to bad behaviour.
I downloaded the font and then went onto 'Finder' and 'Downloads', where I installed the font.
I downloaded the font and then went onto 'Finder' and 'Downloads', where I installed the font.


Next, I went onto After effects and the font was installed.
I highlighted the original text and changed the font to 'Abandon'.
Next I applied a key frame for the text to be very small.
I highlighted the original text and changed the font to 'Abandon'.
Next I applied a key frame for the text to be very small.
I then placed another key frame, where I made the text much larger.
As a result, the text flew into the centre, growing larger.
I then exported the file and imported it onto 'Adobe Premirere Pro CC', where my Title sequence was.
As a result, the text flew into the centre, growing larger.
I then exported the file and imported it onto 'Adobe Premirere Pro CC', where my Title sequence was.

|

|

Afterwards I imported my title sequence onto my Soap opera episode and finally exported the whole project and uploaded onto 'YouTube'.
